This tutorial explains the steps to create and manage your Minecraft profiles.
The Minecraft launcher allows you to create and switch between different versions of Minecraft as well as being able to have multiple copies of each version.
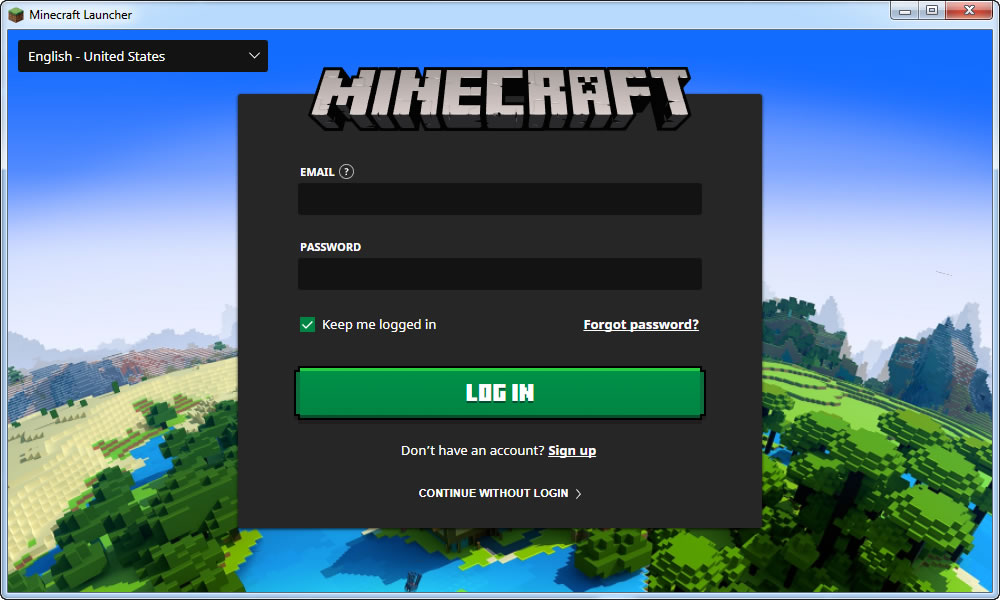
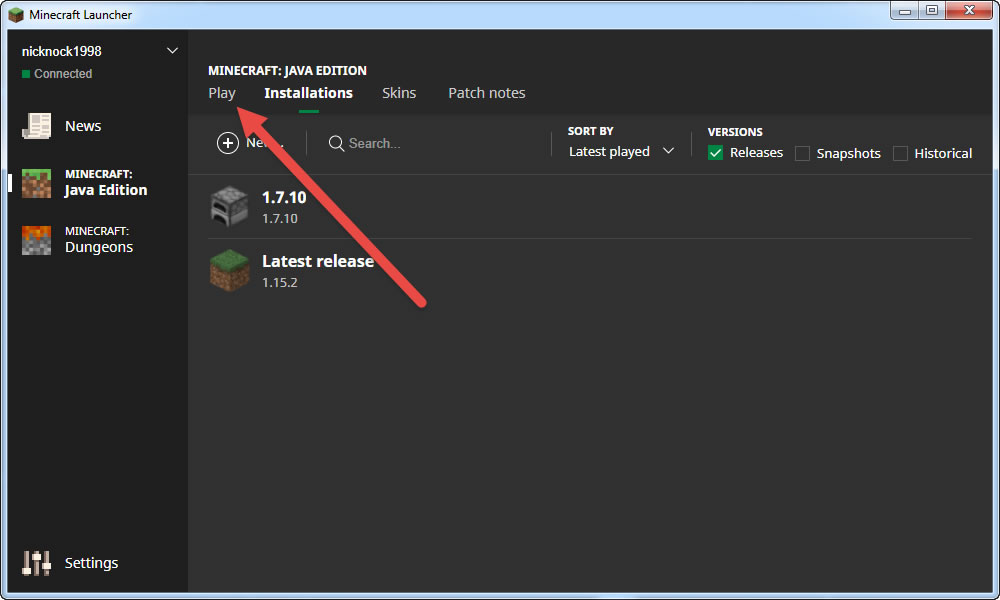
Default Minecraft Launcher settings
When you first run the Minecraft Launcher, it will ask you to log in with the email address and password that you used when you set up your Minecraft/Mojang account.
Once it has accepted the login, it will automatically setup a profile which:
- Uses the latest version available of Minecraft
- Is named “Latest release”
Minecraft will then download the latest version and all the files needed to run it, so just be patient as it may take a minute or two (depending on how fast your internet connection is).
Once it’s finished, you can then simply click the Play button, it will load up the profile and then you’ll then be presented with the familiar screen that allows you to enter a Singleplayer or Multiplayer game.
Setting up Minecraft to install mods
To mod different versions of minecraft, you need to set up a profile for each version of Minecraft that you want to mod.
Follow these instructions for each version that you want to set up a profile for:
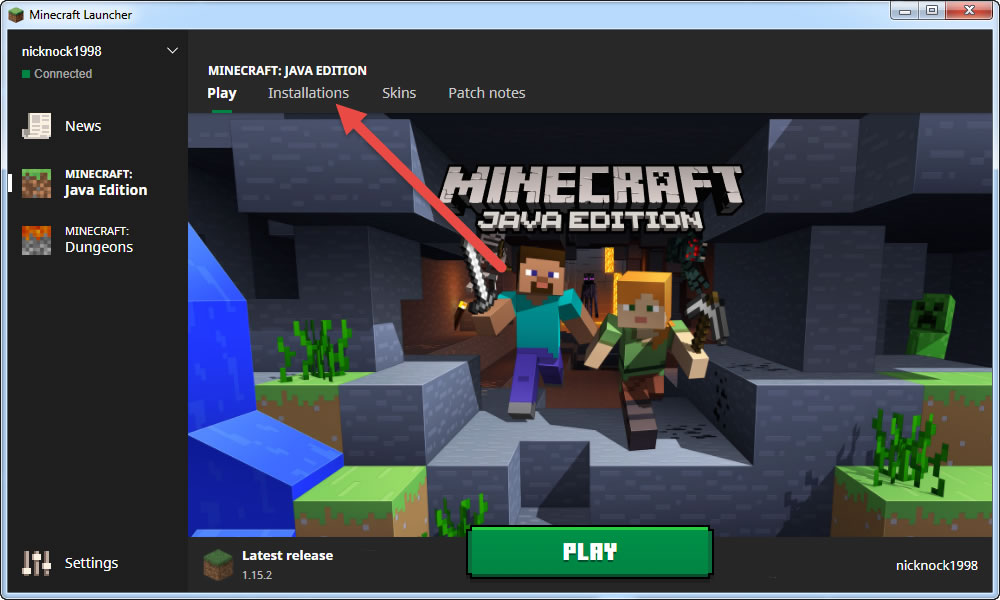
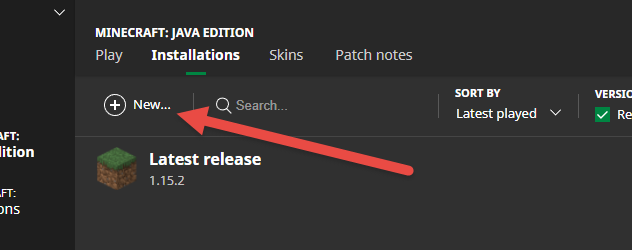
- Click on the Installations tab
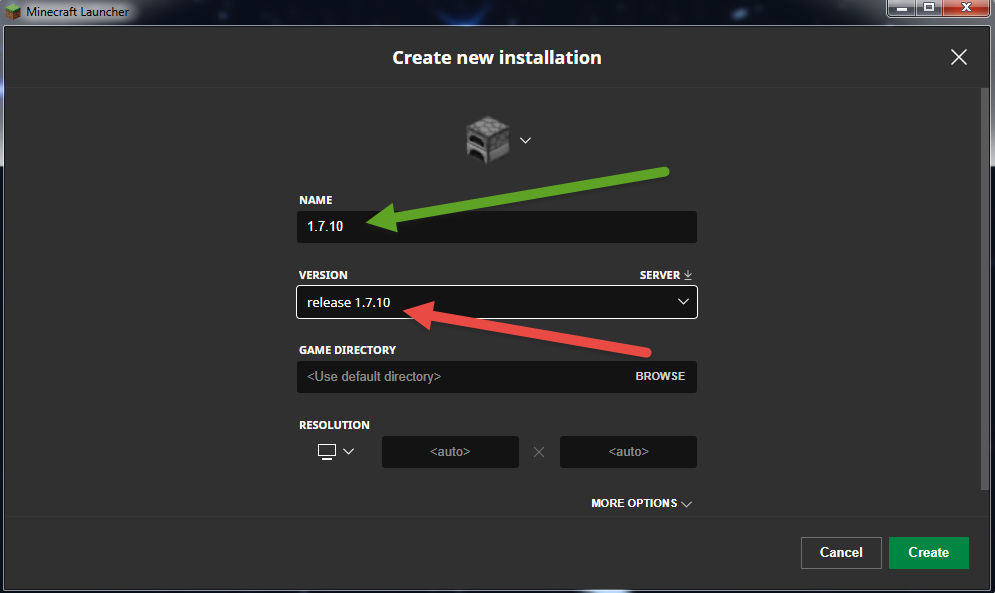
Then create, name and configure the new profile …
- Click the New… button
- Edit the NAME field to be the same as the version of Minecraft that you want to mod
- Change the VERSION dropdown to the version of Minecraft that you want to mod
- Click the Create button
Launch the new profile …
- Click on the Play tab
- In the profile dropdown, select the new profile that you just created
- Click the green Play button to launch and run that profile

Once you have launched and run the new version profile at least once, it is now ready for modding.
Repeat these steps for any additional versions of Minecraft that you want to mod, then go back to the How To Use Modgician instructions to start installing mods.
Comments are closed for this article!